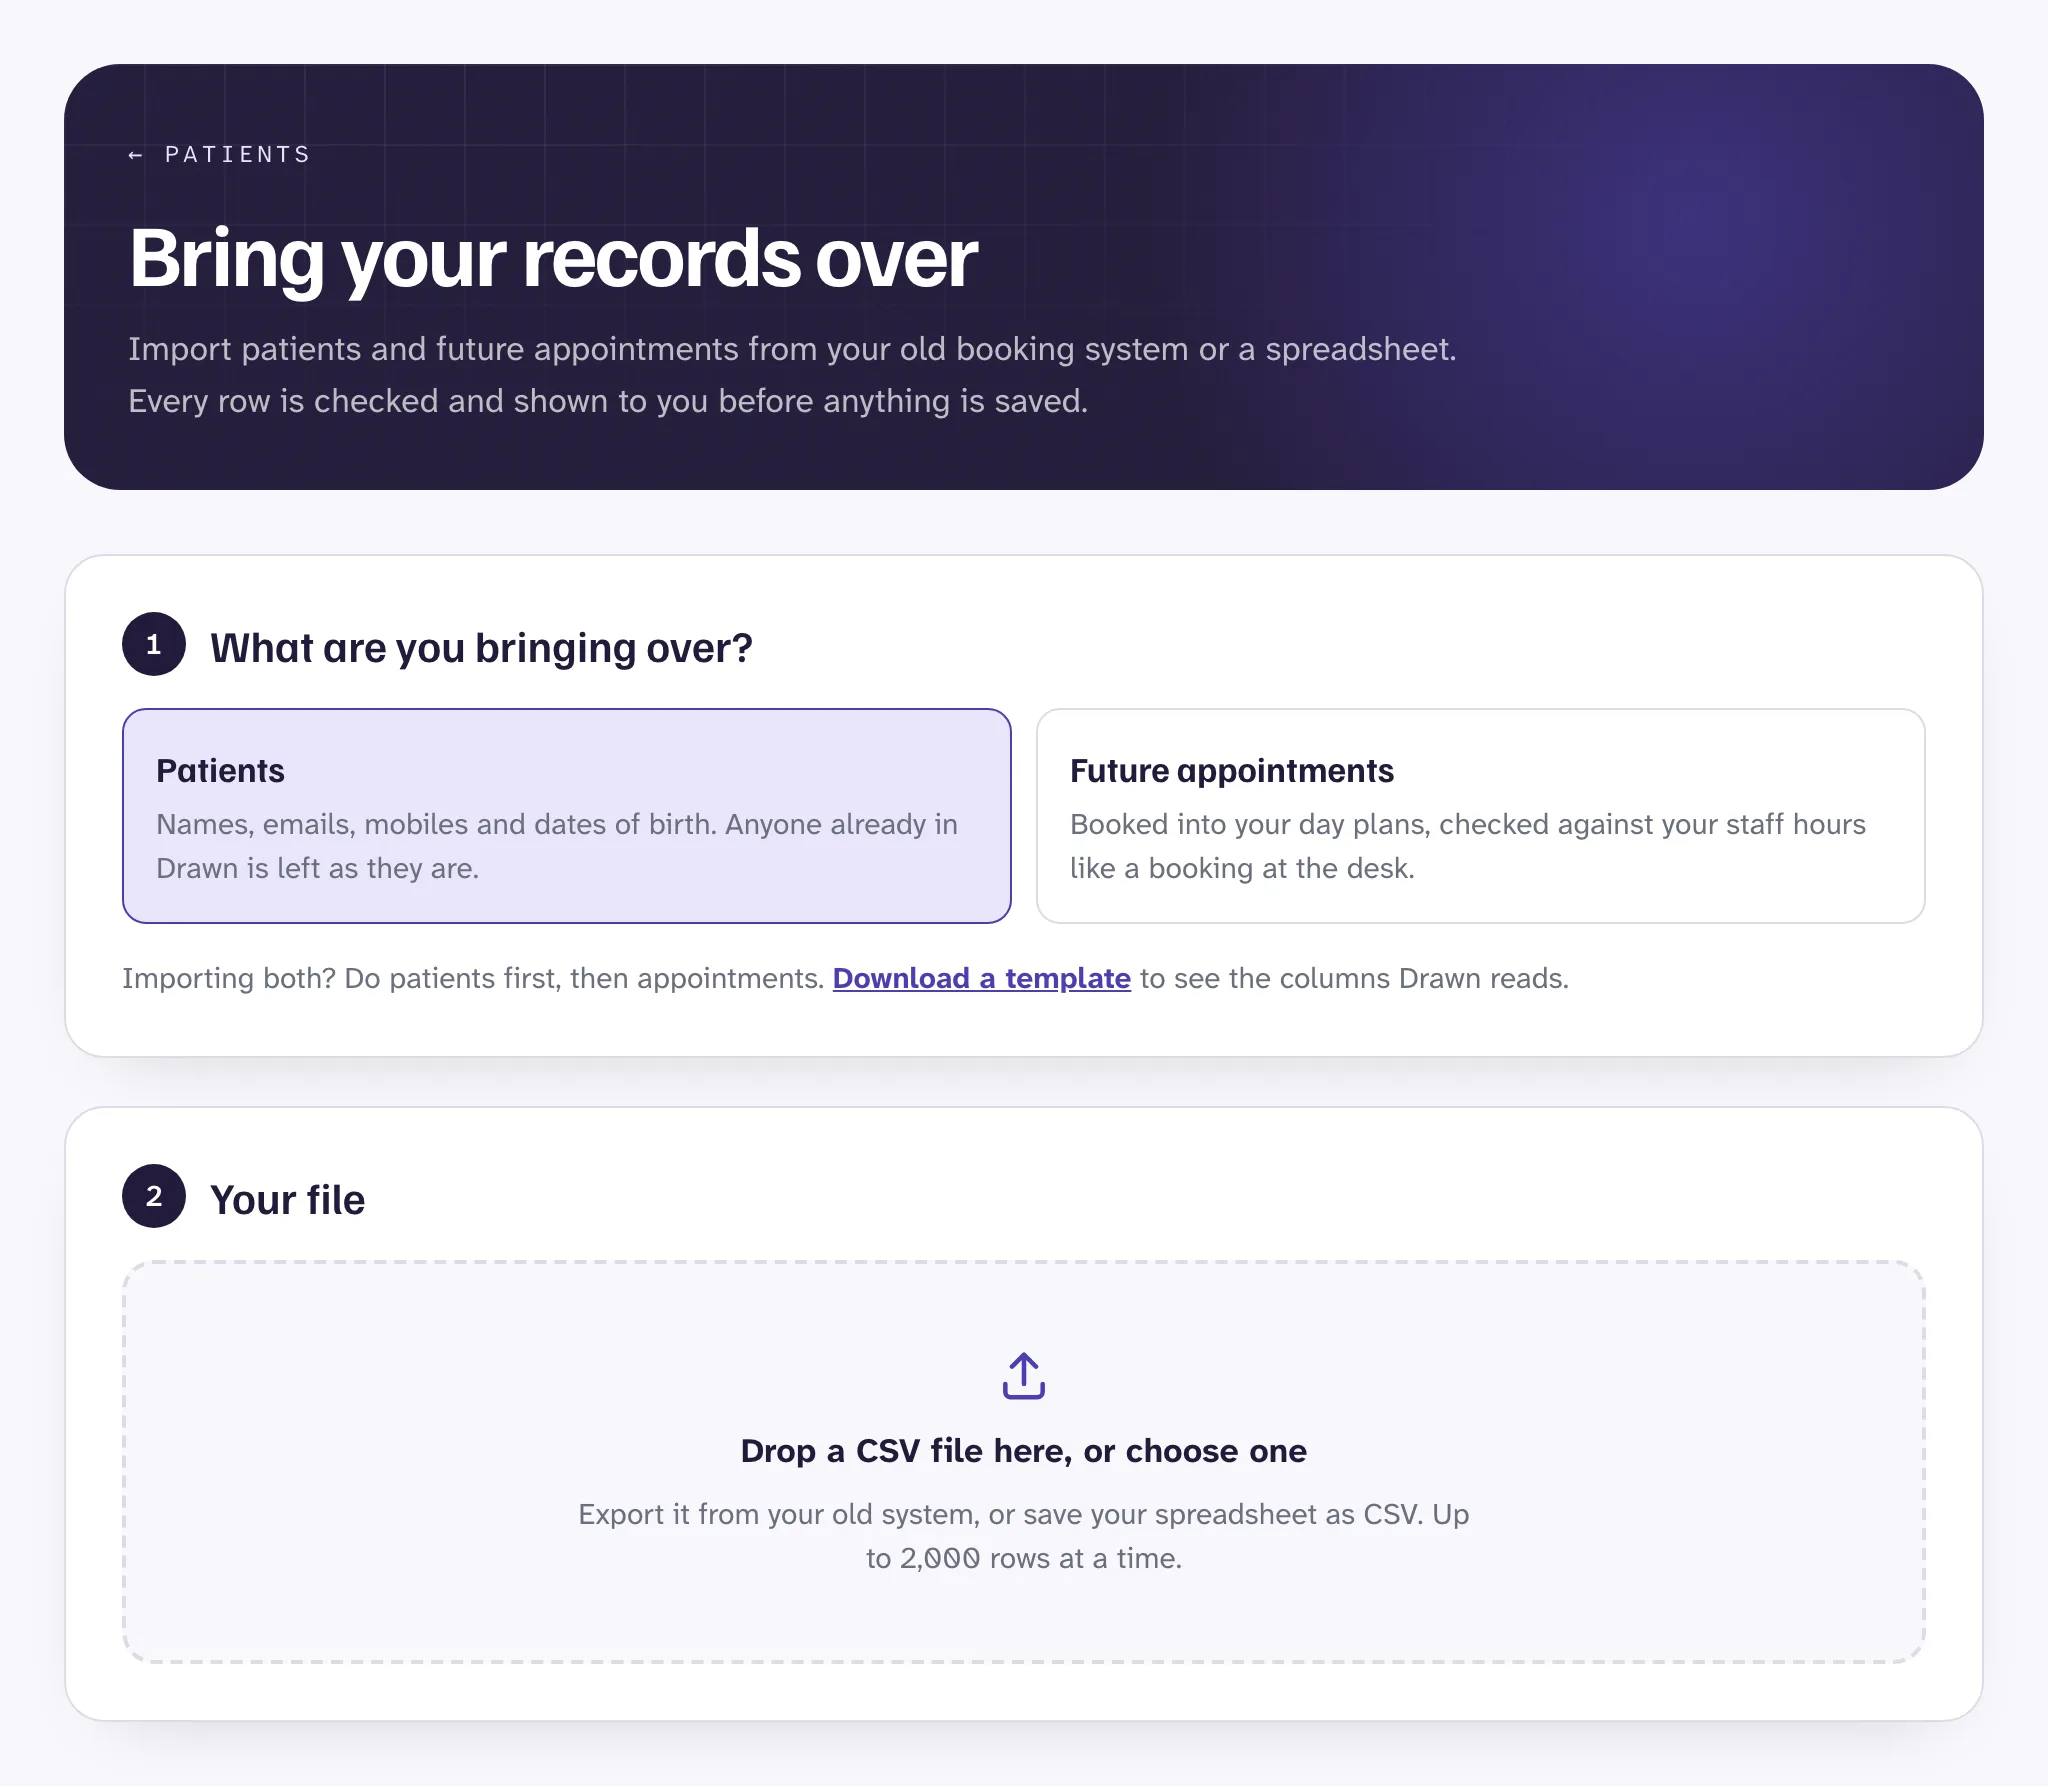
Get a CSV file ready#
Export your patients, or your future appointments, from your old system as a CSV file. Most systems have an export button for this.
If you keep them in a spreadsheet, open it in Excel, Numbers or Google Sheets and save or download it as CSV. Not sure what columns to use? Press Download a template on the import screen and fill that in.
Import patients first, then appointments. Do one file of each.
What each file needs#
Patients
- First name and last name, or one full name column.
- Email and mobile.
- Date of birth, if you have it.
Anyone already in Drawn is left as they are.
Future appointments
- The patient's name, email and mobile.
- Date and time, such as 18/11/2026 and 08:30.
- Tests, using your test names in Drawn. Separate more than one with a semicolon: Full blood count; Vitamin D.
- Location, if you have more than one clinic location.
- Staff member, if you like. Leave it empty and Drawn picks whoever is free.
Appointments are checked against your staff hours, just like a booking made at the desk.
Import it#
- Open Patients and press Import from another system. Reception and clinic admins can do this.
- Choose what you're bringing over: patients or future appointments.
- Drop your CSV file on the page, or choose it.
- Under Match your columns, check what Drawn matched. Change any that are wrong, using the example from your first row as a guide.
- Tick that these patients know how you use their details, through your privacy notice. It's the same as ticking it for a booking at the desk.
- Press Check. Nothing is saved yet. Each row is marked ready, skipped, or needs fixing.
- When you're happy, import. Rows that need fixing are left out.
Good to know
Patients aren't emailed when you import them. Imported appointments show in your day plans, marked as imported. Fix any rows that were left out in your file, and import just those again.
Still stuck?
Email us and a real person will help. Guides last updated 3 November 2026.